
How to Rank Your Business Series – Day 02
Congratulations on taking the first step towards establishing your online presence!
Setting up a website is an exciting journey that begins with careful planning and execution. In this comprehensive guide, we’ll walk you through the process of setting up your website using the WordPress CMS and Hostinger for hosting.
From domain registration to website launch, we’ve got you covered every step of the way.
How to Setup Your First Website
Choose a Domain Name
- If you haven’t already chosen a domain name, refer to our previous guide on “Choosing the Perfect Domain Name: Tips and Tricks” for expert advice.
- Once you’ve finalized your domain name, proceed to register it through Hostinger’s domain registration service.
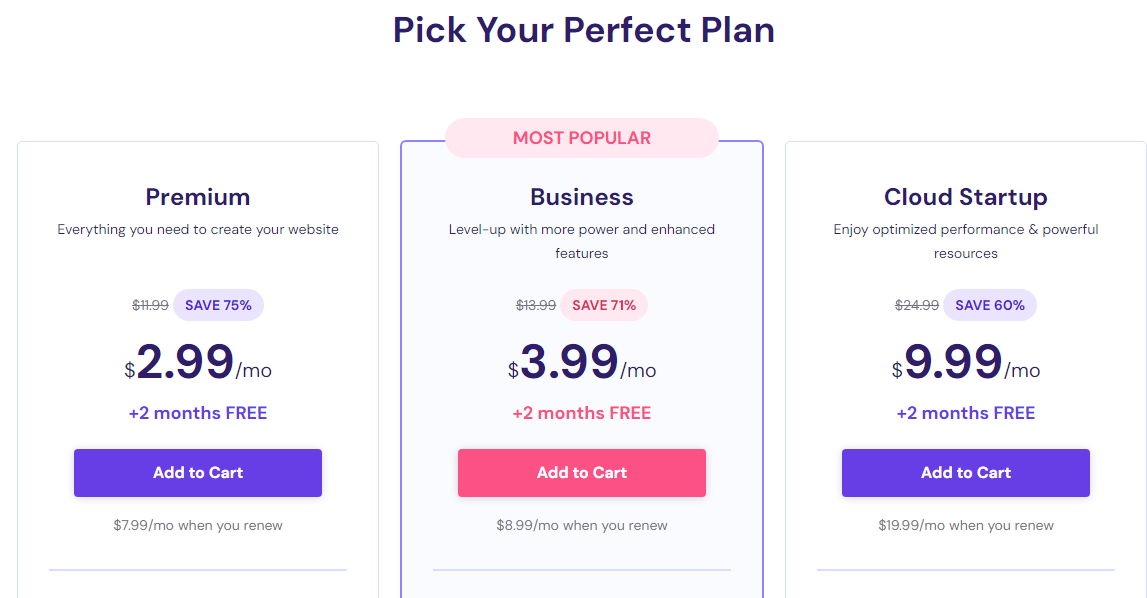
Select a Hosting Plan
- Head over to Hostinger’s or any other provider website and explore their range of hosting plans.
- Choose a hosting plan that best suits your website’s needs, considering factors such as storage, bandwidth, and scalability.
- Complete the hosting purchase process.
Install WordPress
- Log in to your Hosting account and navigate to the control panel (cPanel).
- Look for the “Auto Installer” or “Softaculous” option and locate WordPress in the list of available applications.
- Click on WordPress and follow the on-screen instructions to install it on your hosting account.
Configure WordPress Settings
- Once WordPress is installed, access your website’s admin dashboard by visiting yourdomain.com/wp-admin.
- Navigate to the “Settings” tab and configure essential settings such as site title, tagline, and permalink structure.
- Customize other settings according to your preferences, including timezone, language, and reading preferences.
Choose a Theme
- Explore the wide range of WordPress themes available, both free and premium.
- Choose a theme that aligns with your brand identity, offers the desired features, and provides flexibility for customization.
- Install and activate your chosen theme from the WordPress dashboard.

Customize Your Website
- Use the WordPress Customizer to personalize your website’s appearance, including colors, fonts, header/footer settings, and layout.
- Customize the theme settings and add any necessary plugins to enhance functionality, such as contact forms, social media integration, and SEO optimization.
Create Essential Pages
- Create essential pages for your website, including Home, About Us, Services, Contact, and any other relevant pages.
- Craft compelling content for each page, focusing on clarity, relevance, and engagement.
- Add images, videos, and other multimedia elements to enhance the visual appeal of your website.

Optimize for SEO
- Install an SEO plugin such as Yoast SEO or Rank Math to optimize your website for search engines.
- Optimize each page and post for target keywords, meta titles, descriptions, and other on-page SEO elements.
- Submit your website’s sitemap to search engines and monitor its performance using analytics tools.
Test and Launch
- Before launching your website, thoroughly test its functionality across different devices and browsers.
- Check for any broken links, formatting issues, or usability concerns and address them accordingly.
- Once you’re satisfied with the results, launch your website and celebrate this significant milestone!
Setting up your website using WordPress and Hostinger is a rewarding endeavor that opens up countless opportunities for growth and success. By following this step-by-step guide, you’ll be well-equipped to create a professional, engaging, and fully functional website that represents your brand effectively. Stay tuned for more insights on optimizing and promoting your website for maximum visibility and impact.
Stay tuned for more insights on ranking your business in the digital landscape.
AR
Owner of Web of Abhi – Online Business Solution CompanyGraphic Designer | Web Developer | Digital Marketing | WordPress | SEO | Web Design